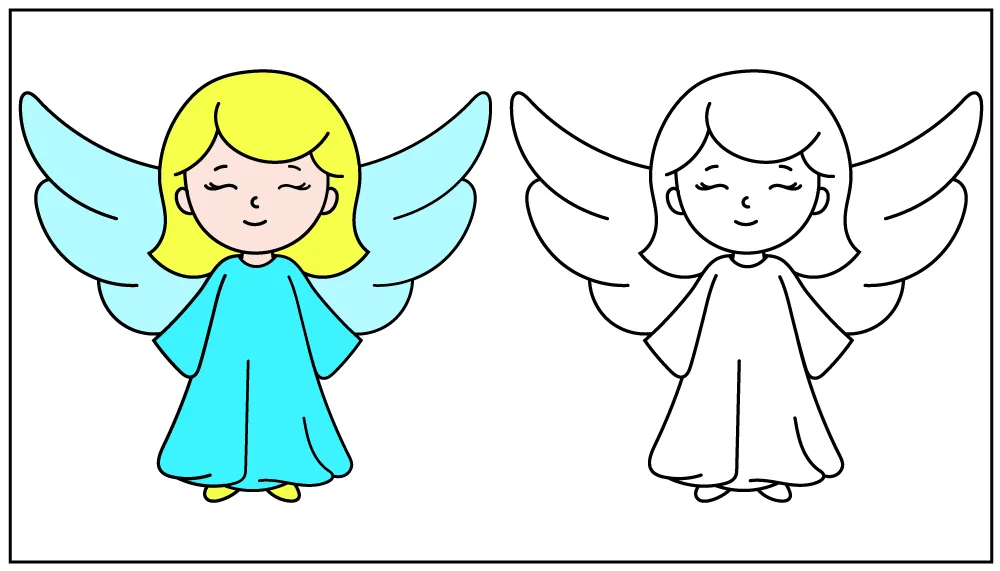
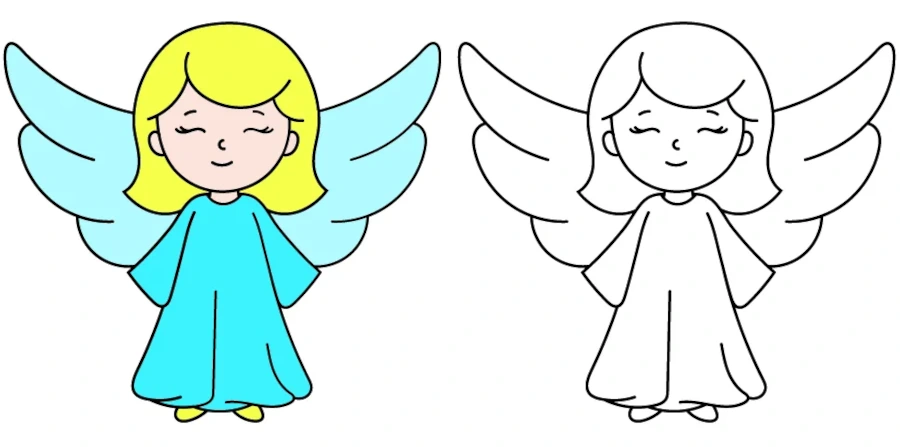
How to Draw an Angel? Step-by-Step Tutorial!
Today we will draw an angel! For many children this may seem like a difficult task, but together we will definitely manage. We have divided the drawing of the angel into 12 steps. Just follow them one by one, and in a few minutes your angel will be ready!
Step 1
The very beginning may seem a bit mysterious.
The shapes you see in the first step will create the face and hairstyle of our angel.

Step 2
A little lower, draw a short neck and collar.

Step 3
The next element of the drawing will be the sleeves.
They should be quite narrow at the top and wide at the bottom.

Step 4
Now let’s try to draw the lower part of the robe.
This is quite a difficult element, so we divided it into two stages.
In the first stage, try to draw the left part.

Step 5
Now it’s time for the right part of the garment with the folds and bends.
It doesn’t have to be exactly like the one in our picture.
So if it looks a bit different in your drawing, don’t worry about it at all.

Step 6
Our drawing of the angel is starting to look better and better!
So it’s time for the hair, which should reach about to the shoulders.

Step 7
And now the easiest part of the whole drawing.
On the sides of the head, draw the angel’s ears.

Step 8
We need more details on the angel’s face!
We’ll start with the lower part of the face – the smile and the nose.
The nose should be about halfway up the face.

Step 9
In the upper part of the face, draw the eyes.
Try to make them equidistant – on the right and left side – from the nose.
Once you have done that, draw the eyebrows above the eyes.

Step 10
A real angel must also have wings!
The first one to draw is the right wing.

Step 11
Now we need the same (or almost the same) wing on the left side.

Step 12
And at the very end, all that’s left is to draw the angel feet.
If you’ve managed to get to this stage, then they definitely won’t be a problem for you.

Your angel drawing is ready – great job!
It wasn’t that hard, was it?
With a little self-confidence, you can do a lot more than you think!
And your angel will look even more beautiful when you color it!

Leave A Comment